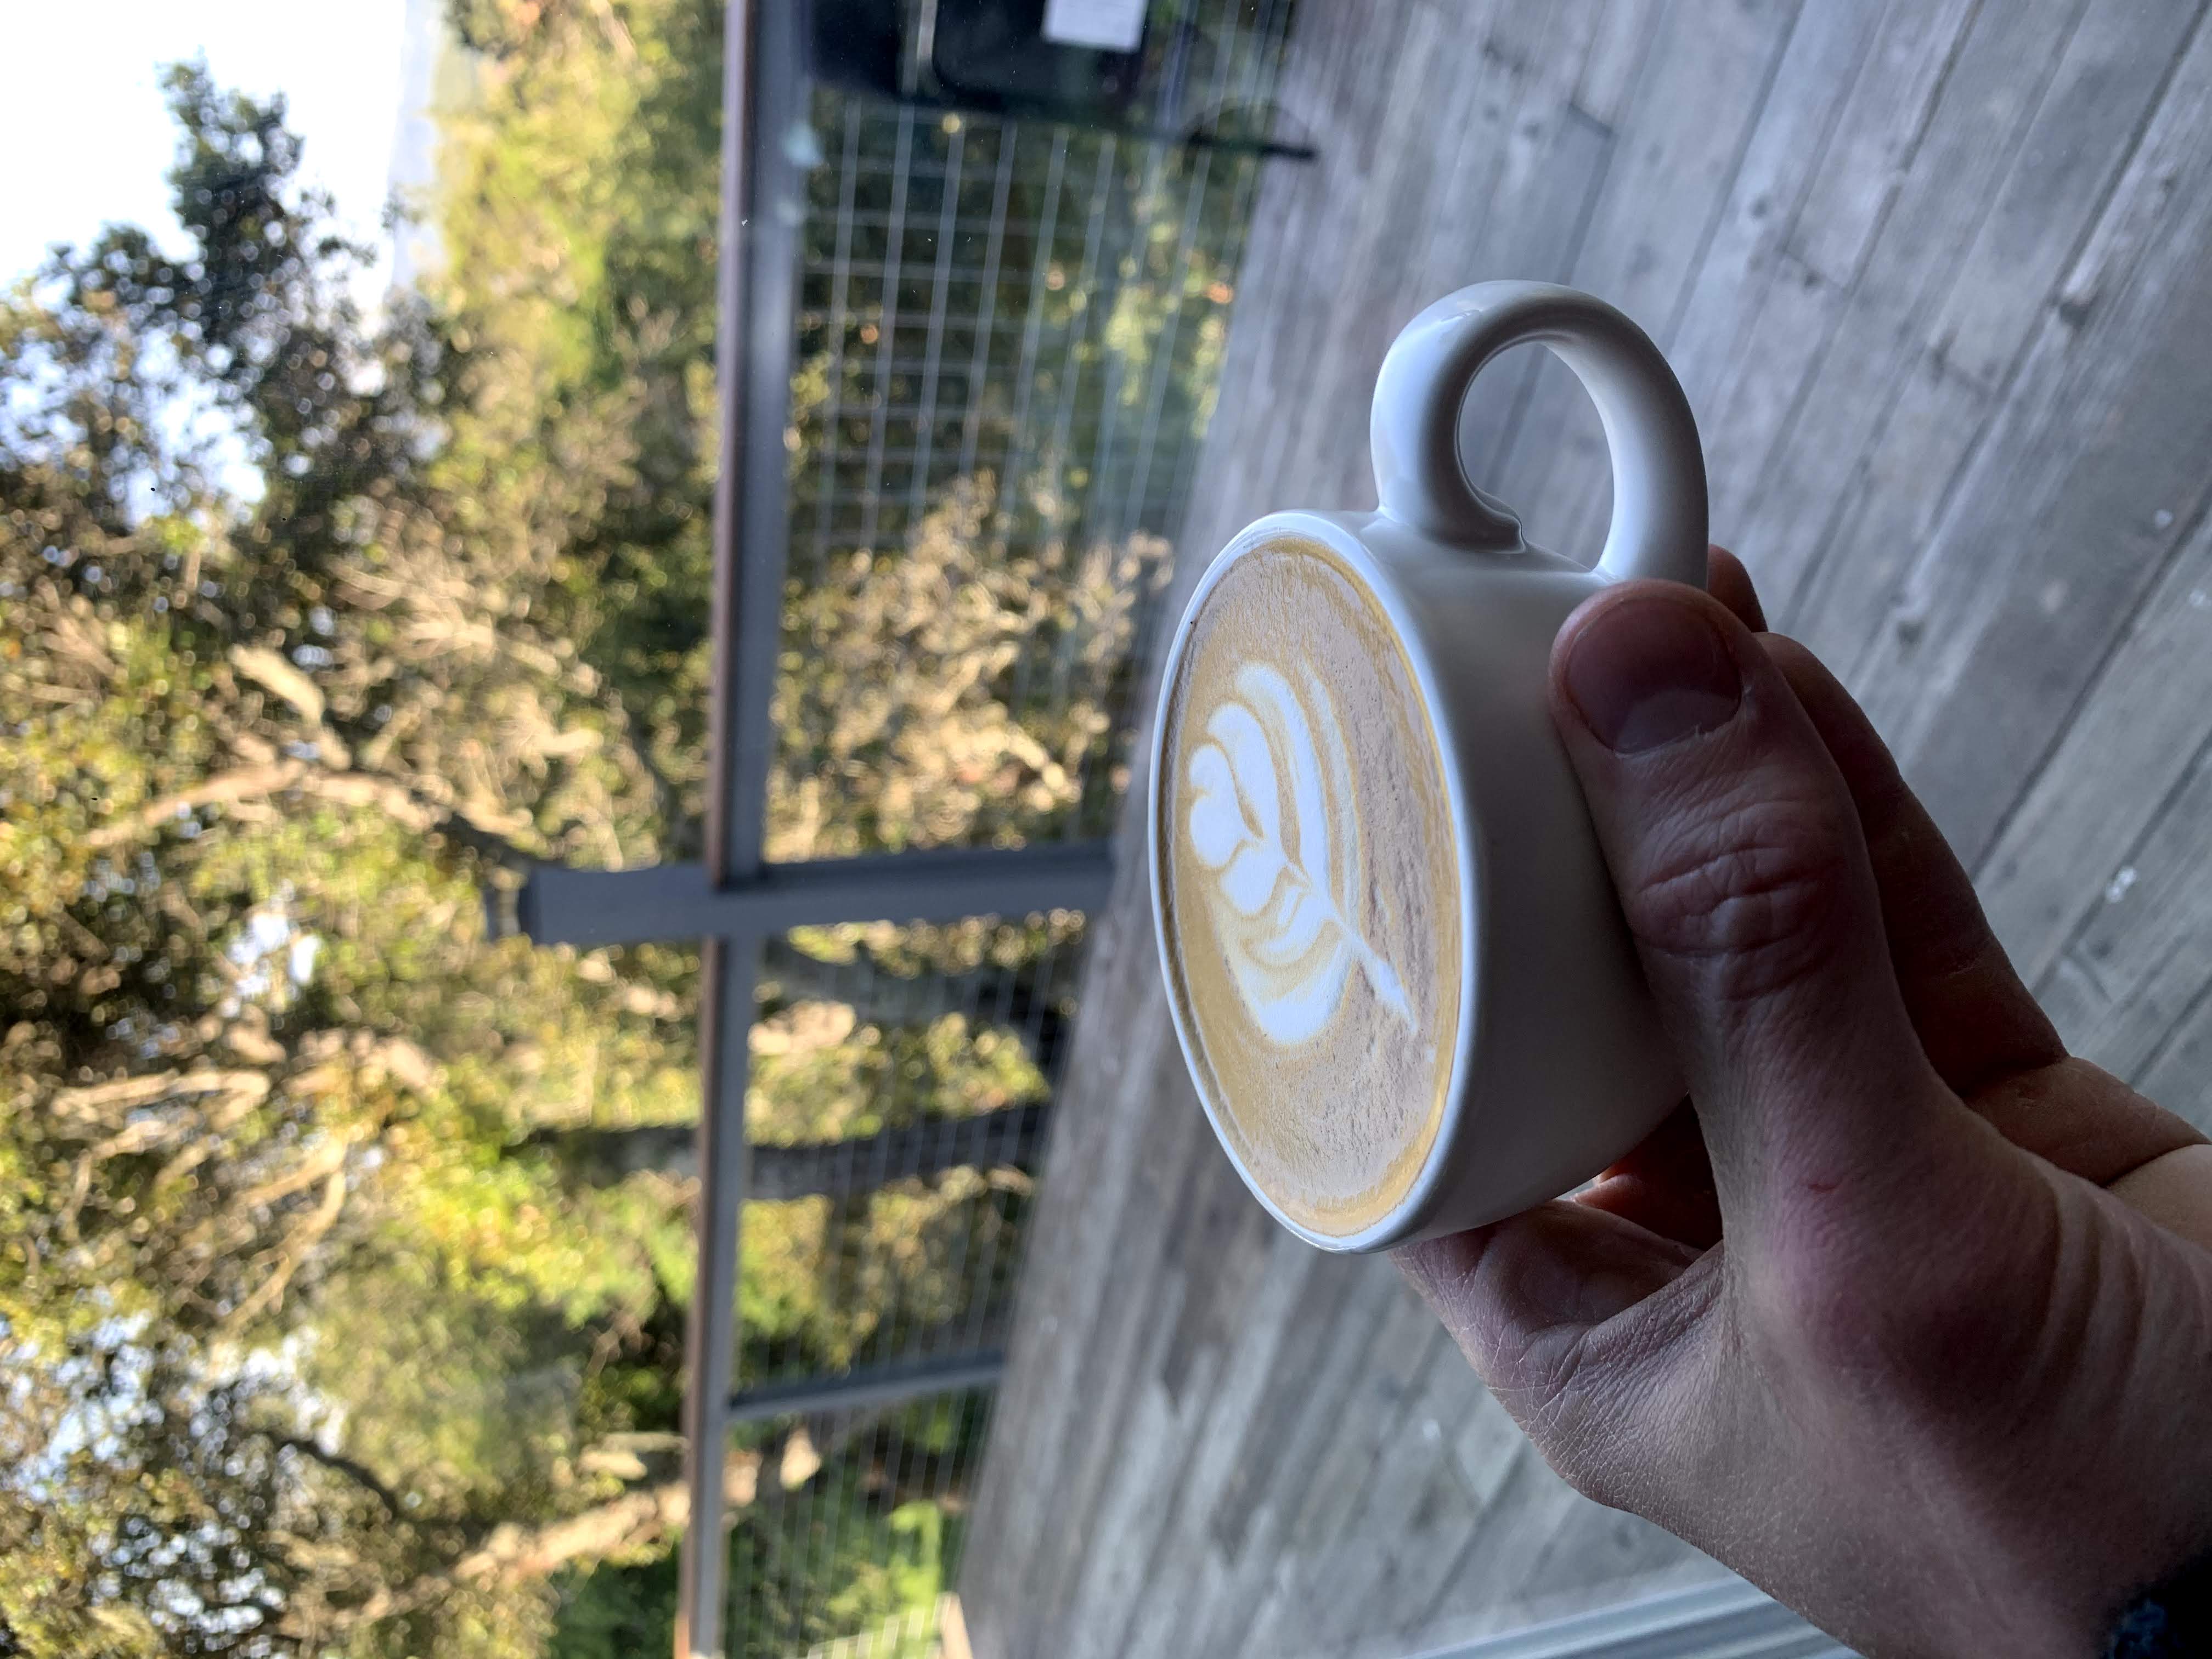
Making a cappuccino at home

Last year, I decided to learn how to make my favorite drink — the cappuccino — on my own, removing a key dependency on city living. When the coronavirus lockdowns began, I was grateful that I had taken the time to develop this skill. Here's how I do it!
Gear
You'll need this gear:
- Espresso machine
- Espresso grinder
- Scale
- Portafilter
- Leveler
- Milk pitcher
- Cup
It's not cheap, but it's well worth it if you want to make great espresso every morning.
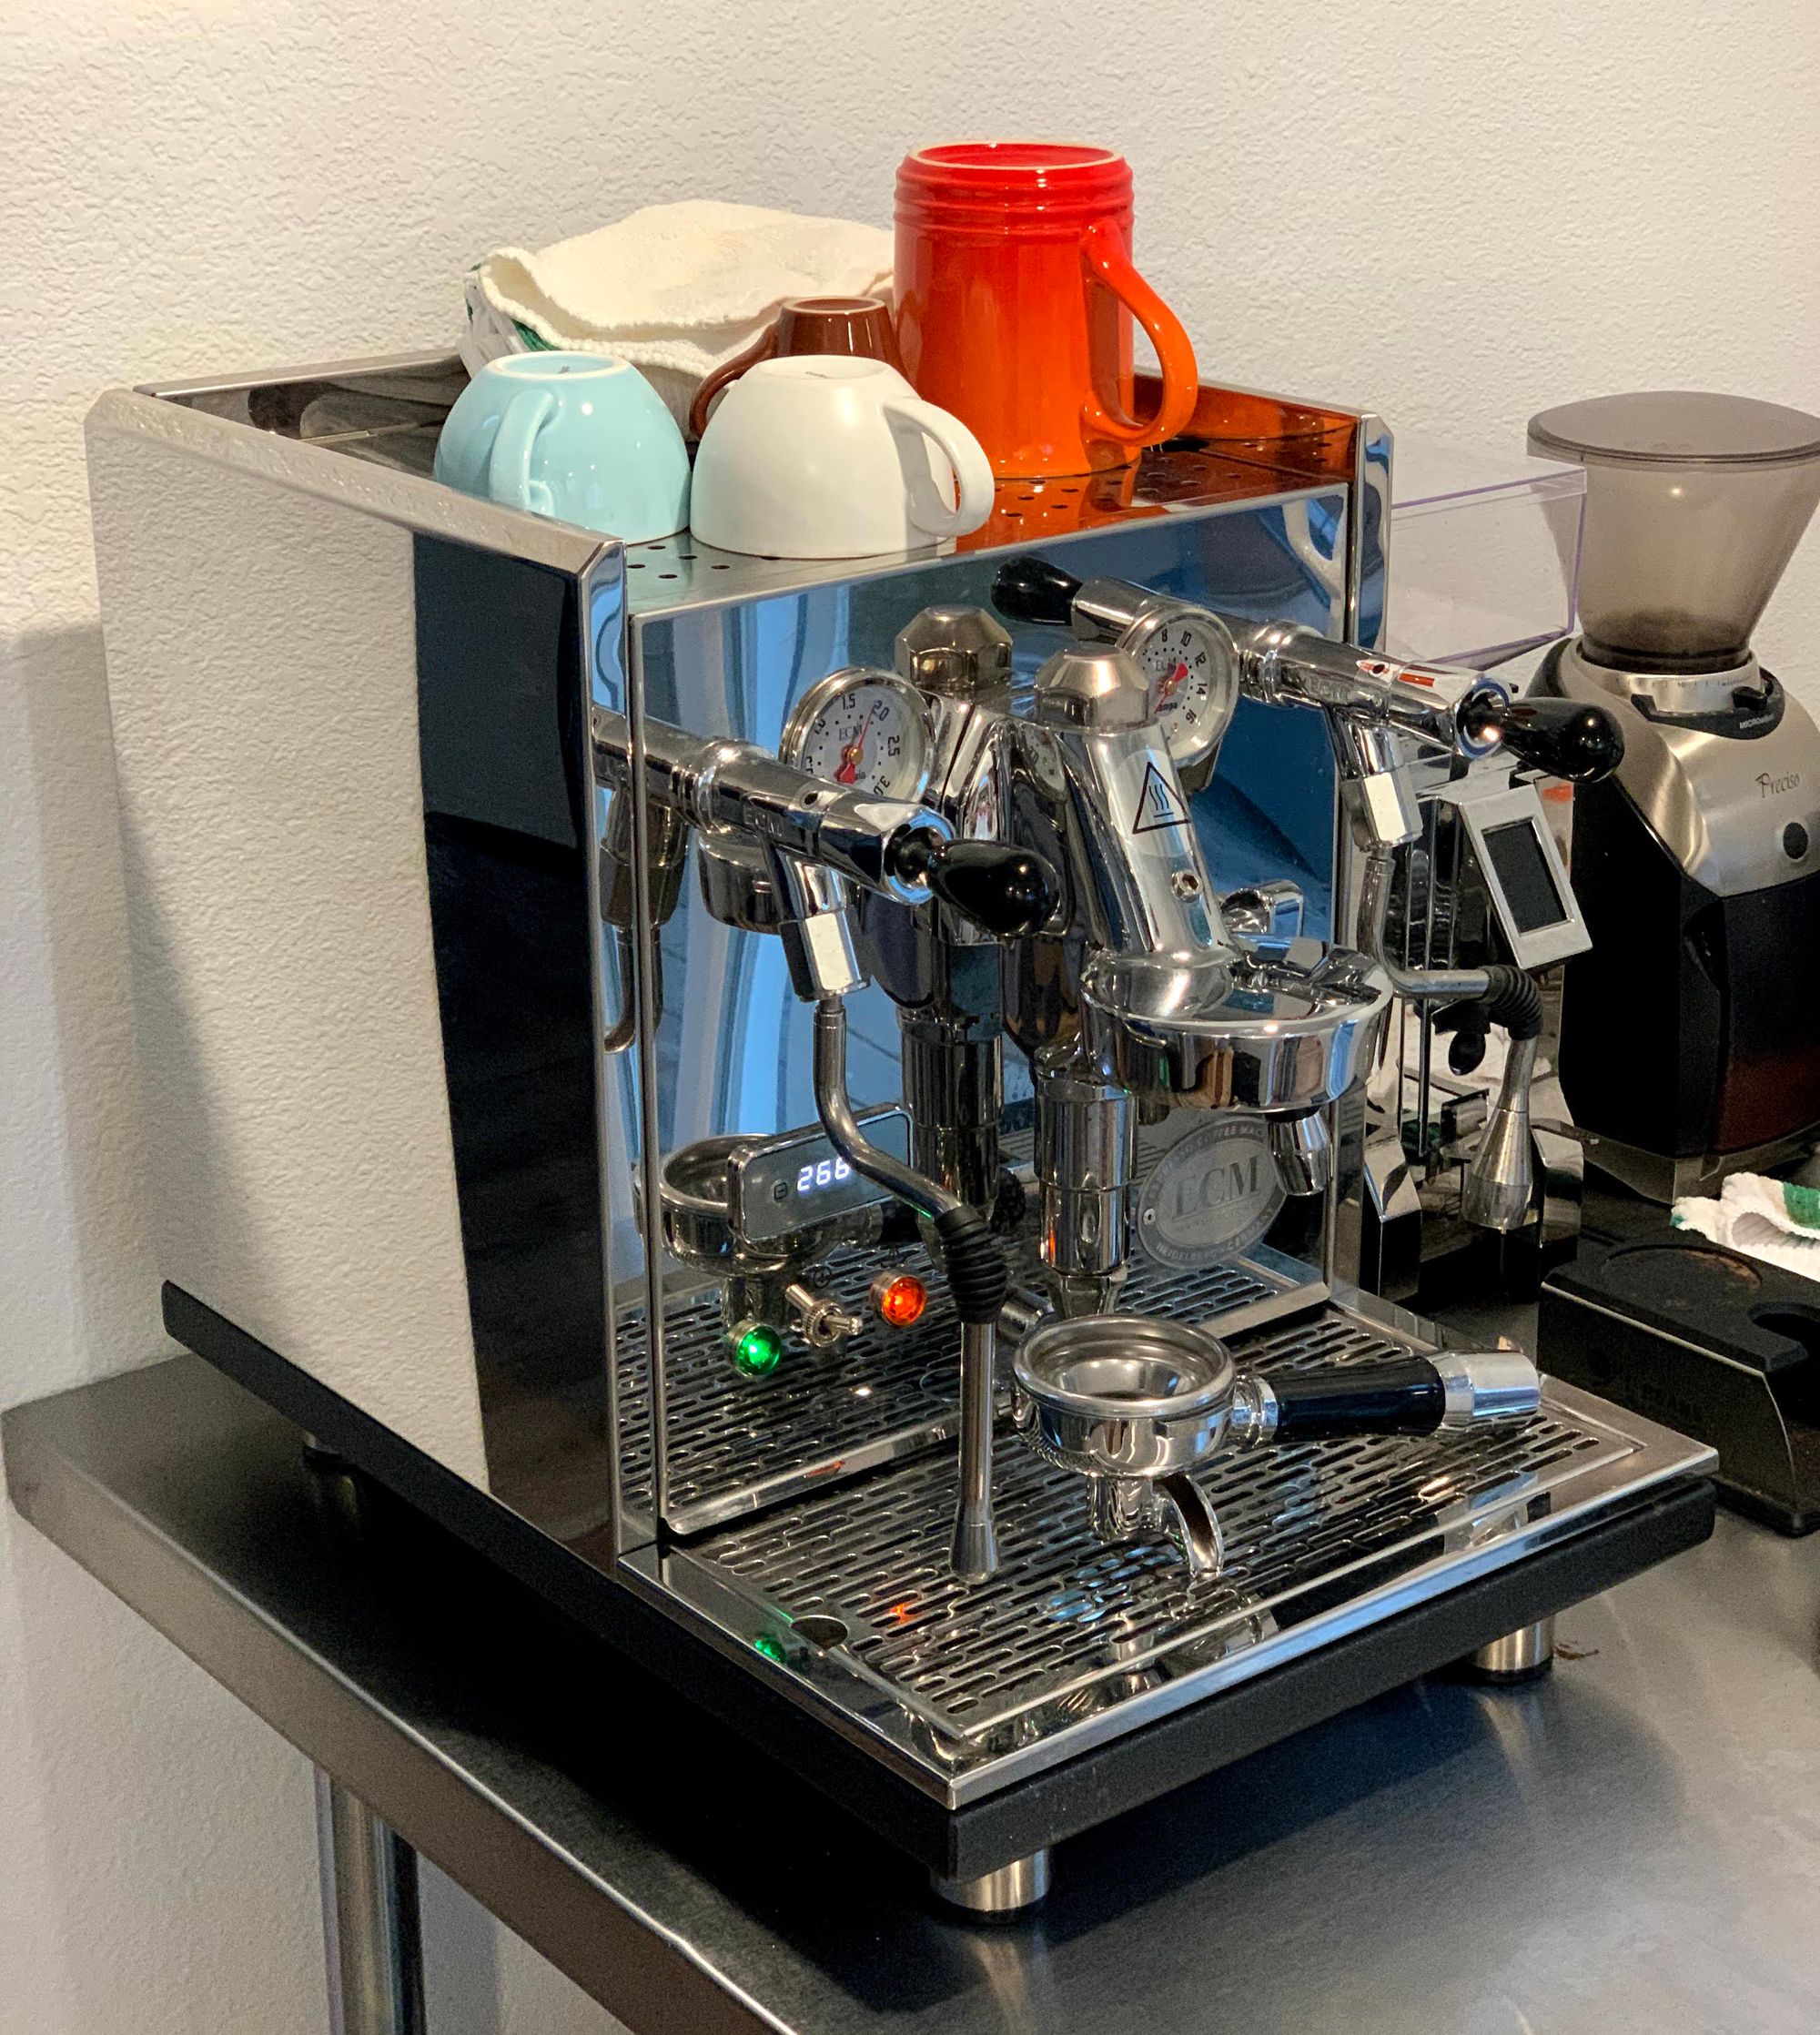
Espresso machine
I use the ECM Synchronika. I selected this one based on its dual boiler design, repairability, size, reviews, and price. It has worked flawlessly so far.
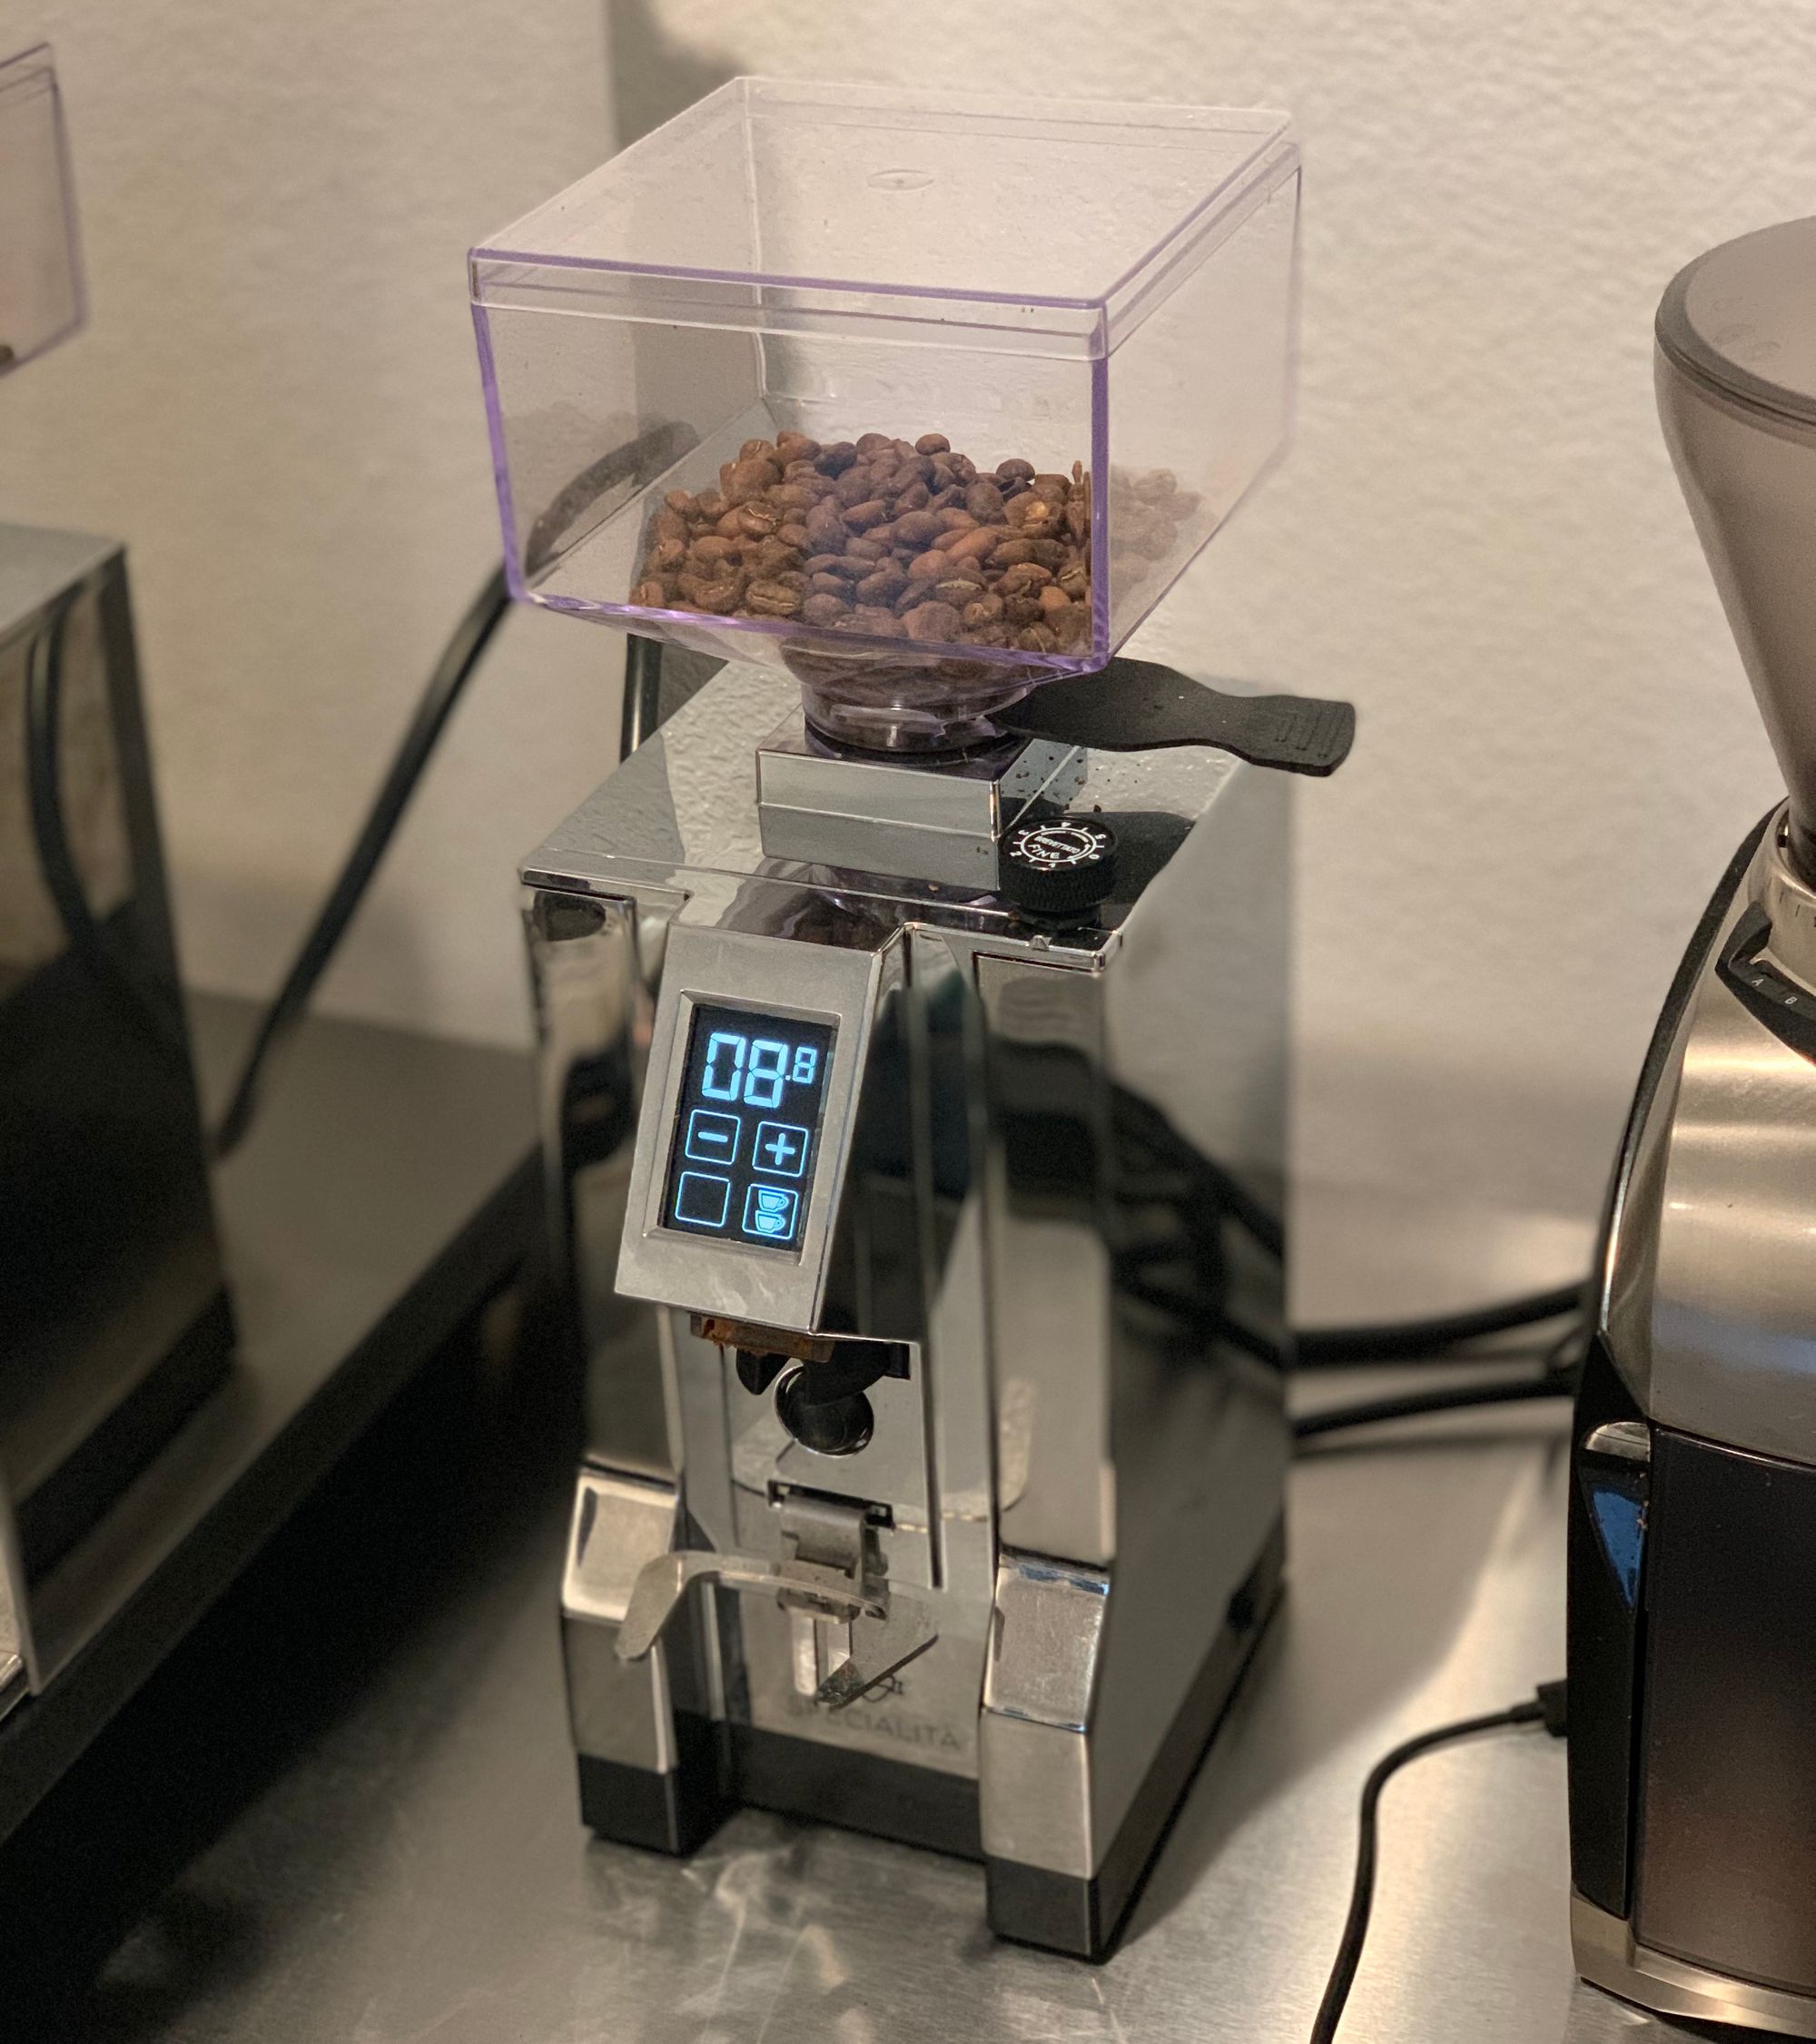
Espresso grinder
When I started out, I was able to get by with my Baratza Preciso. But I got much better results after I upgraded to the Eureka Mignon Specialita. The Specialita was the right balance of quality (burr size and quality, grind retention, reviews), cost, and compactness.
Scale
I use the Acaia Pearl. It's great. It registers weight imperceptibly fast. Because it's designed to be used all day at a café, the rechargeable battery lasts for months at home.
Portafilter
Hardcore coffee shops use bottomless portafilters. These expose issues in how you prepared the puck, allowing you to debug. For instance, if you didn't evenly tamp the puck (disk of grounds) or you ground the coffee inconsistently, you'll see channeling and spraying. This also means you'll have to clean up a mess if your puck preparation wasn't perfect.
I tried using a bottomless portafilter for many months, but I still usually ended up with a mess from sprayed espresso. I decided that the clean-up wasn't worth it and went back to using a double spout portafilter.
Leveler
Traditionally, the puck is prepared using a tamper. This can yield inconsistent shots because it's difficult to apply a consistent amount of pressure manually.
Instead, I use the Jack Leveler. You don't need to tamp if you use a leveler like this, and you'll get a consistent puck effortlessly.
Milk pitcher
To steam the milk, you'll need a milk pitcher. I use this one.
Cup
Cup shape is important to get the right aesthetic and milk/espresso ratio. My favorite is the 5 oz Coffeezone Double Espresso Coffee Cup.
Ingredients
You'll need these ingredients
- Coffee beans
- Milk
- Water
Coffee beans
Good espresso requires fresh beans. Many roasters provide subscription delivery. To preserve freshness, you should keep new bags of beans in your freezer until you need them. My favorite bag of beans for espresso is the Heart Stereo Blend.
Because it takes a few shots to dial in the grinder settings for a given bag of beans, I use up the entire bag before moving on to a new one.
Milk
Use whole milk. If you live in the Bay Area, I'd recommend organic whole milk from Clover or Strauss.
Water
I filter all my water through a Berkey Filter before pouring it into my espresso machine. I don't know if this makes much of a difference for the espresso, but it seems like a good idea.
Procedure
Preparing the drink consists of:
- Preparing the puck
- Pulling the shot
- Steaming the milk
- Pouring the milk / drawing latte art
- Cleaning up
1. Preparing the puck
At the beginning of the day, to clear out stale grinds, always grind and throw out a few grams of coffee. The same goes for when you change the grind setting, switch to different beans, etc.
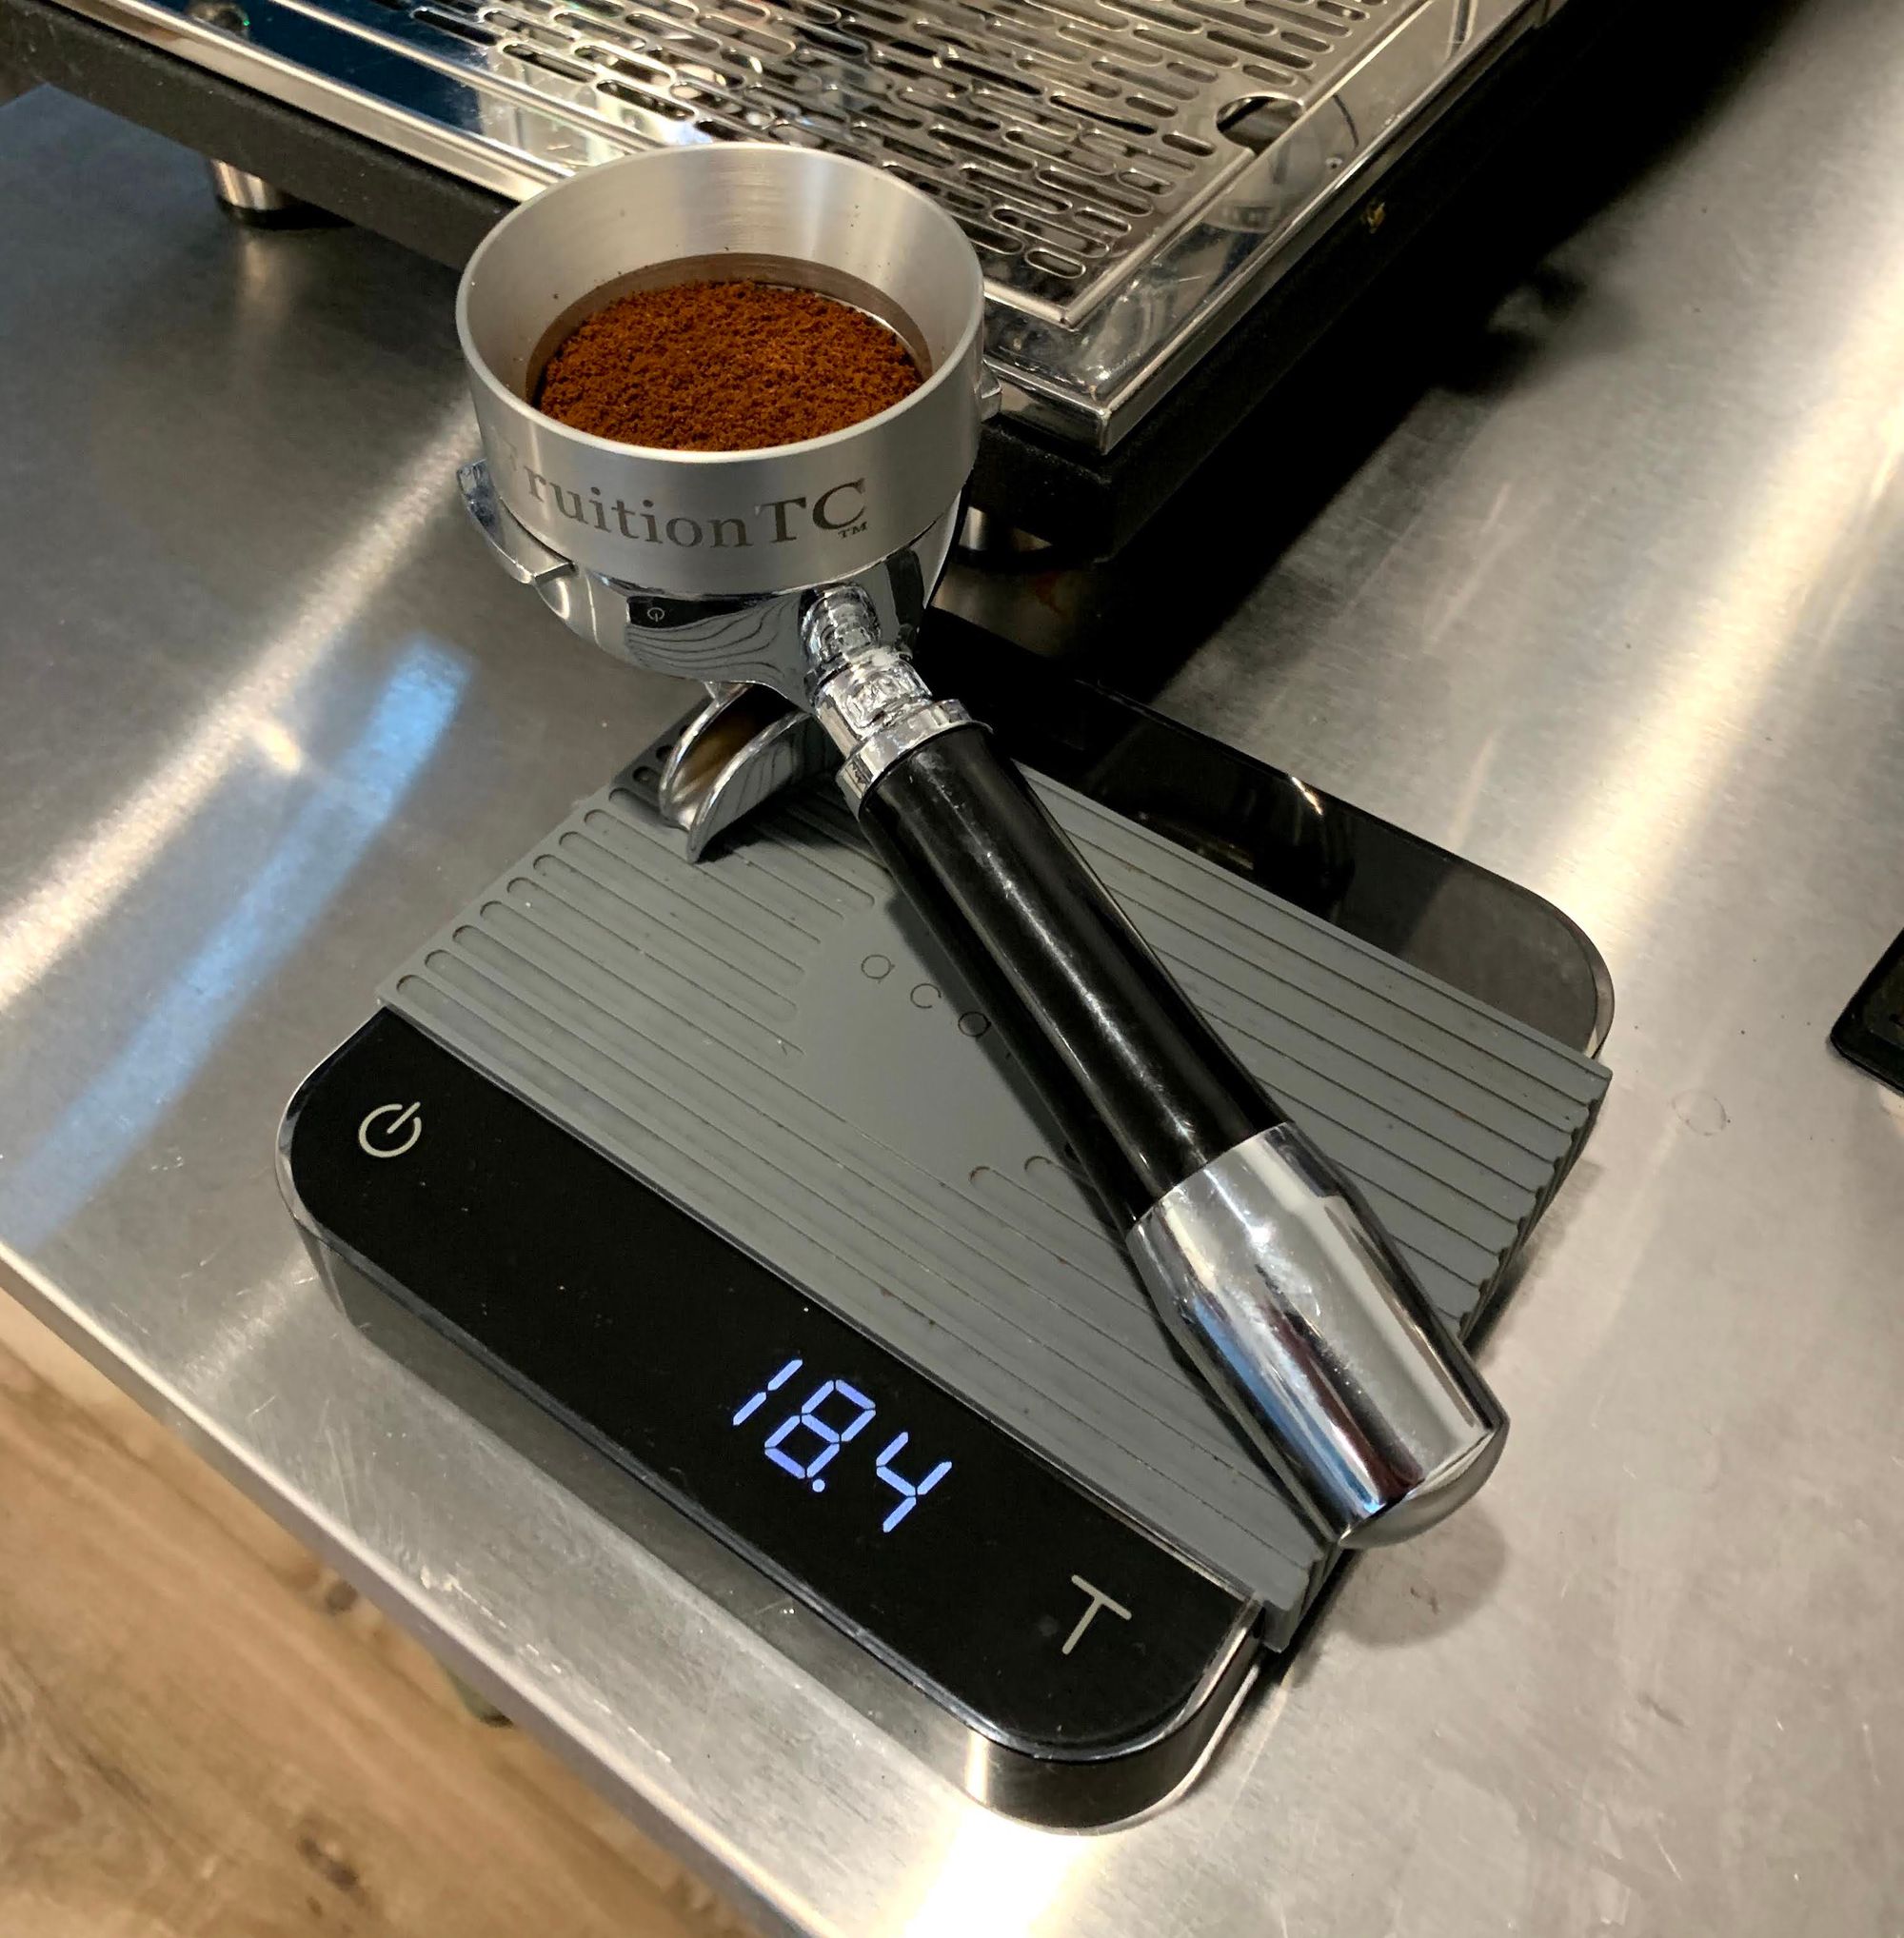
Espresso grinders allow you to dial in an amount of time to grind for. This doesn't yield a super consistent mass of grounds, so you should weigh the grounds in your portafilter to check. I use 18-19 grams.
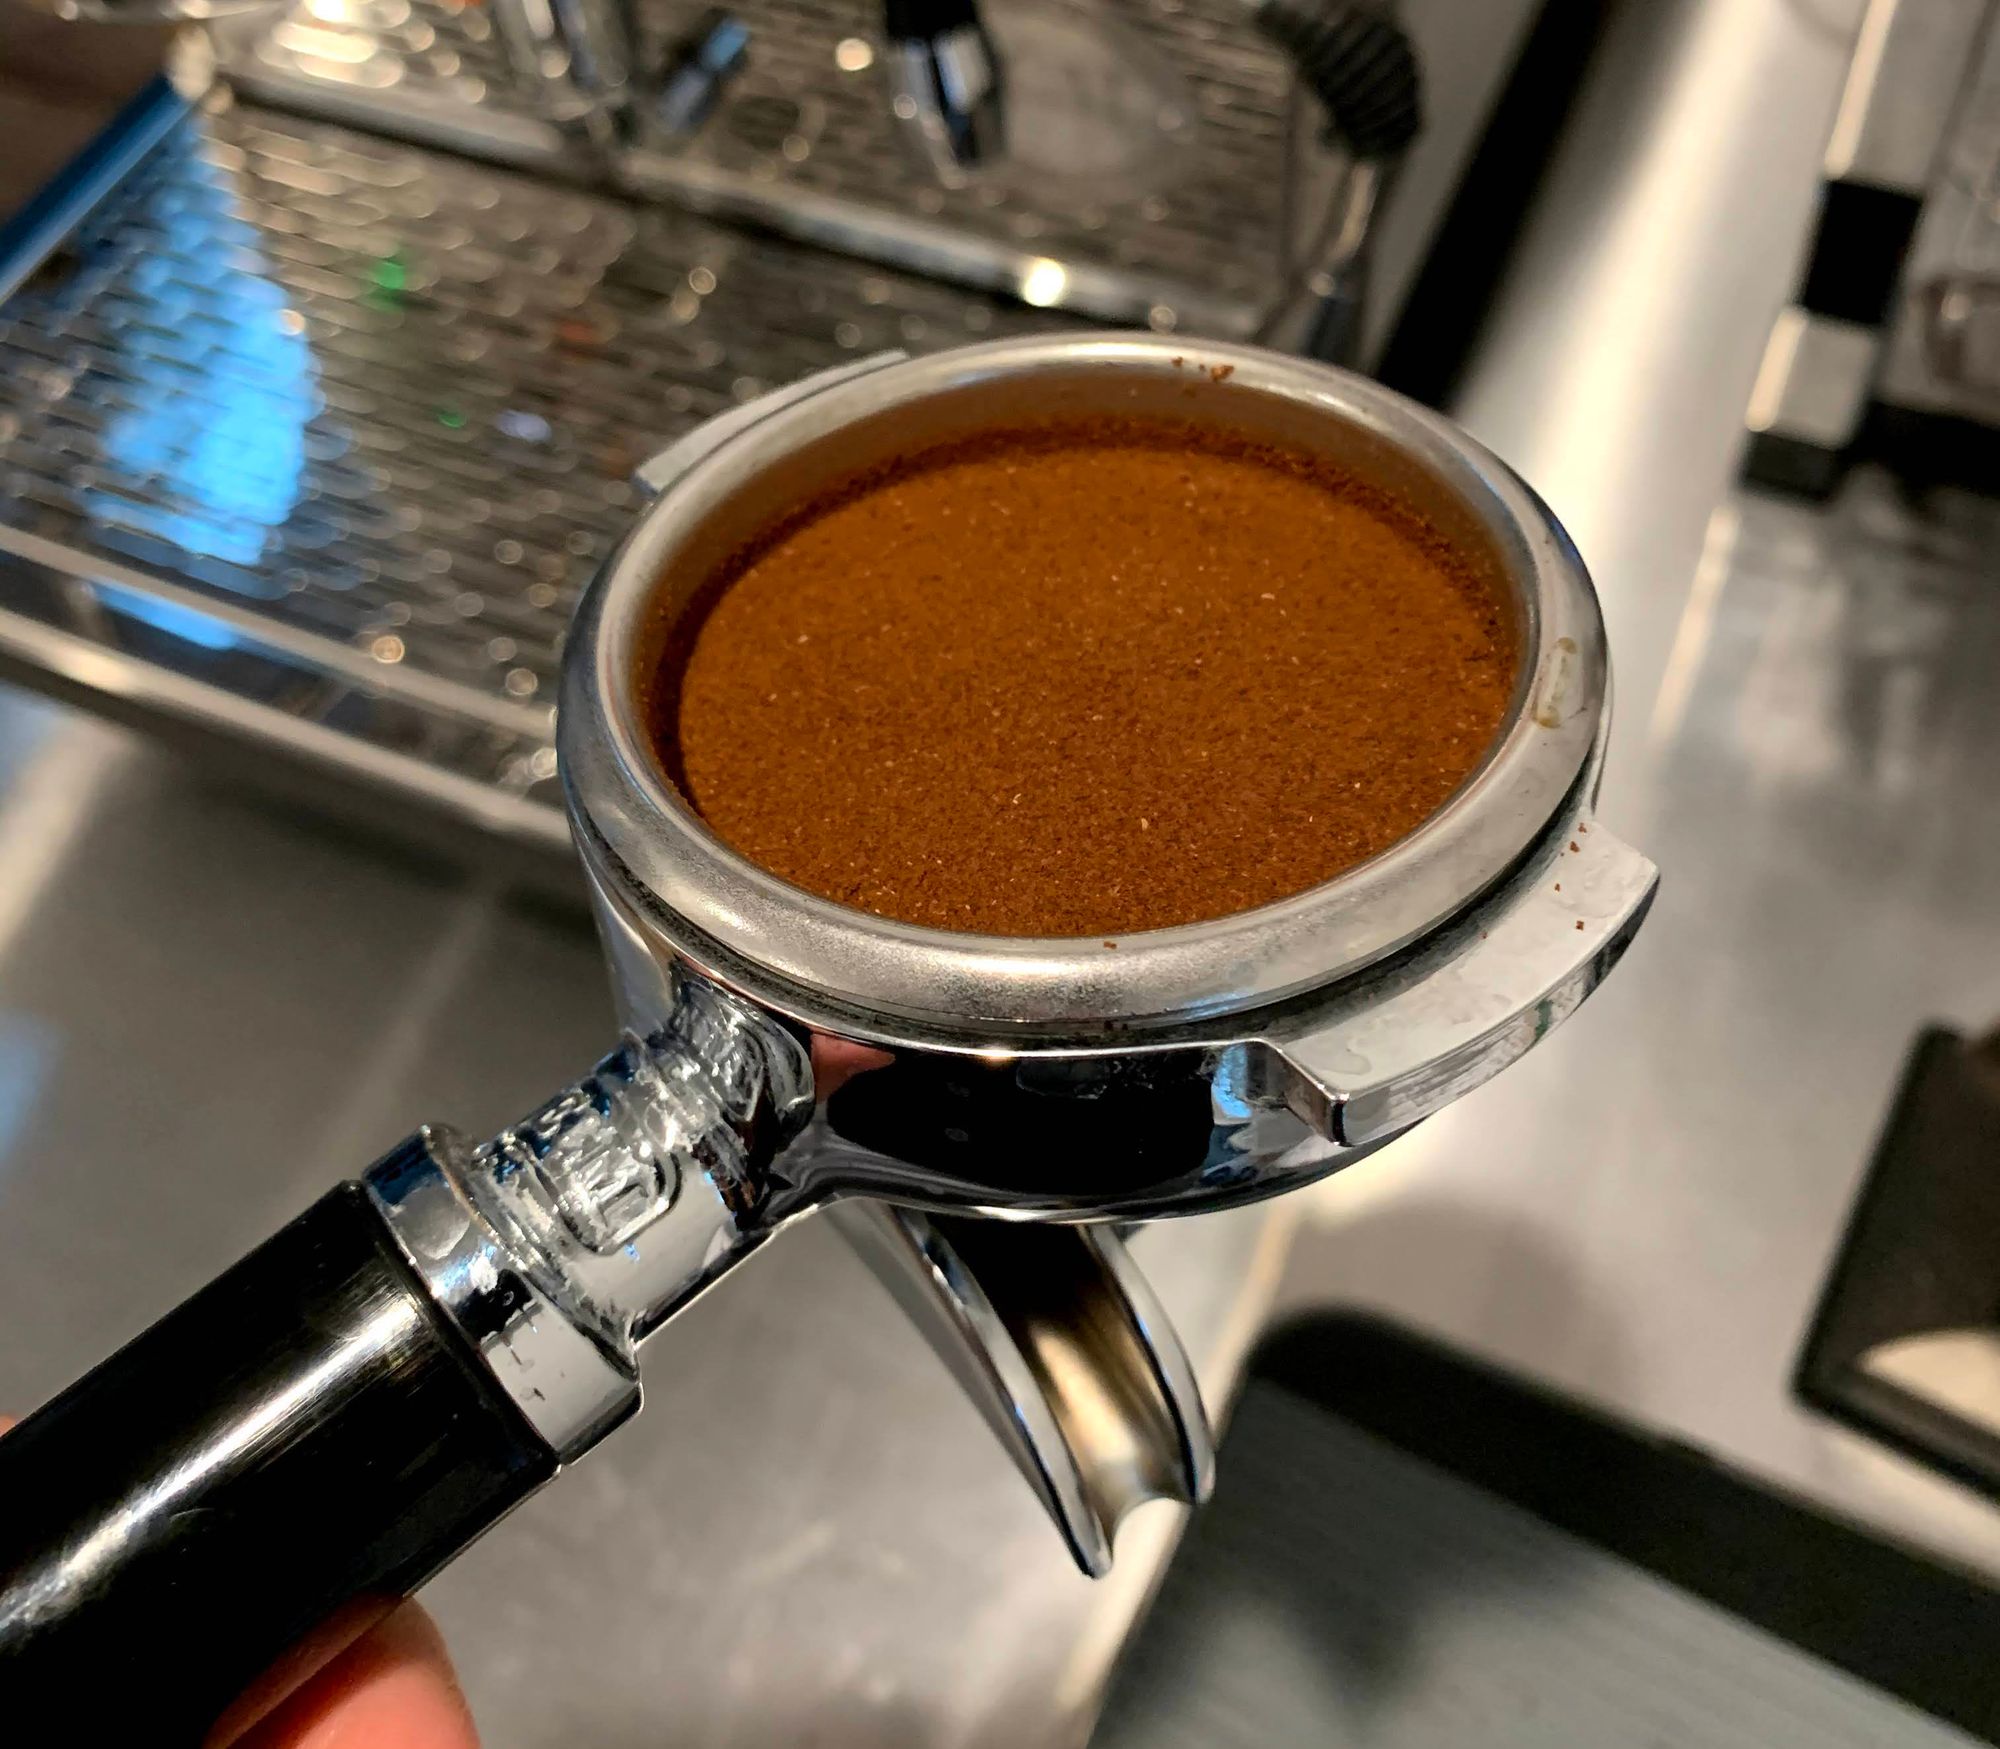
Level the puck using the leveler.
2. Pulling the shot
Run some water through the group head. Lock the portafilter into the machine. Put the scale under the portafilter. Put the cup on top of the scale and zero it.
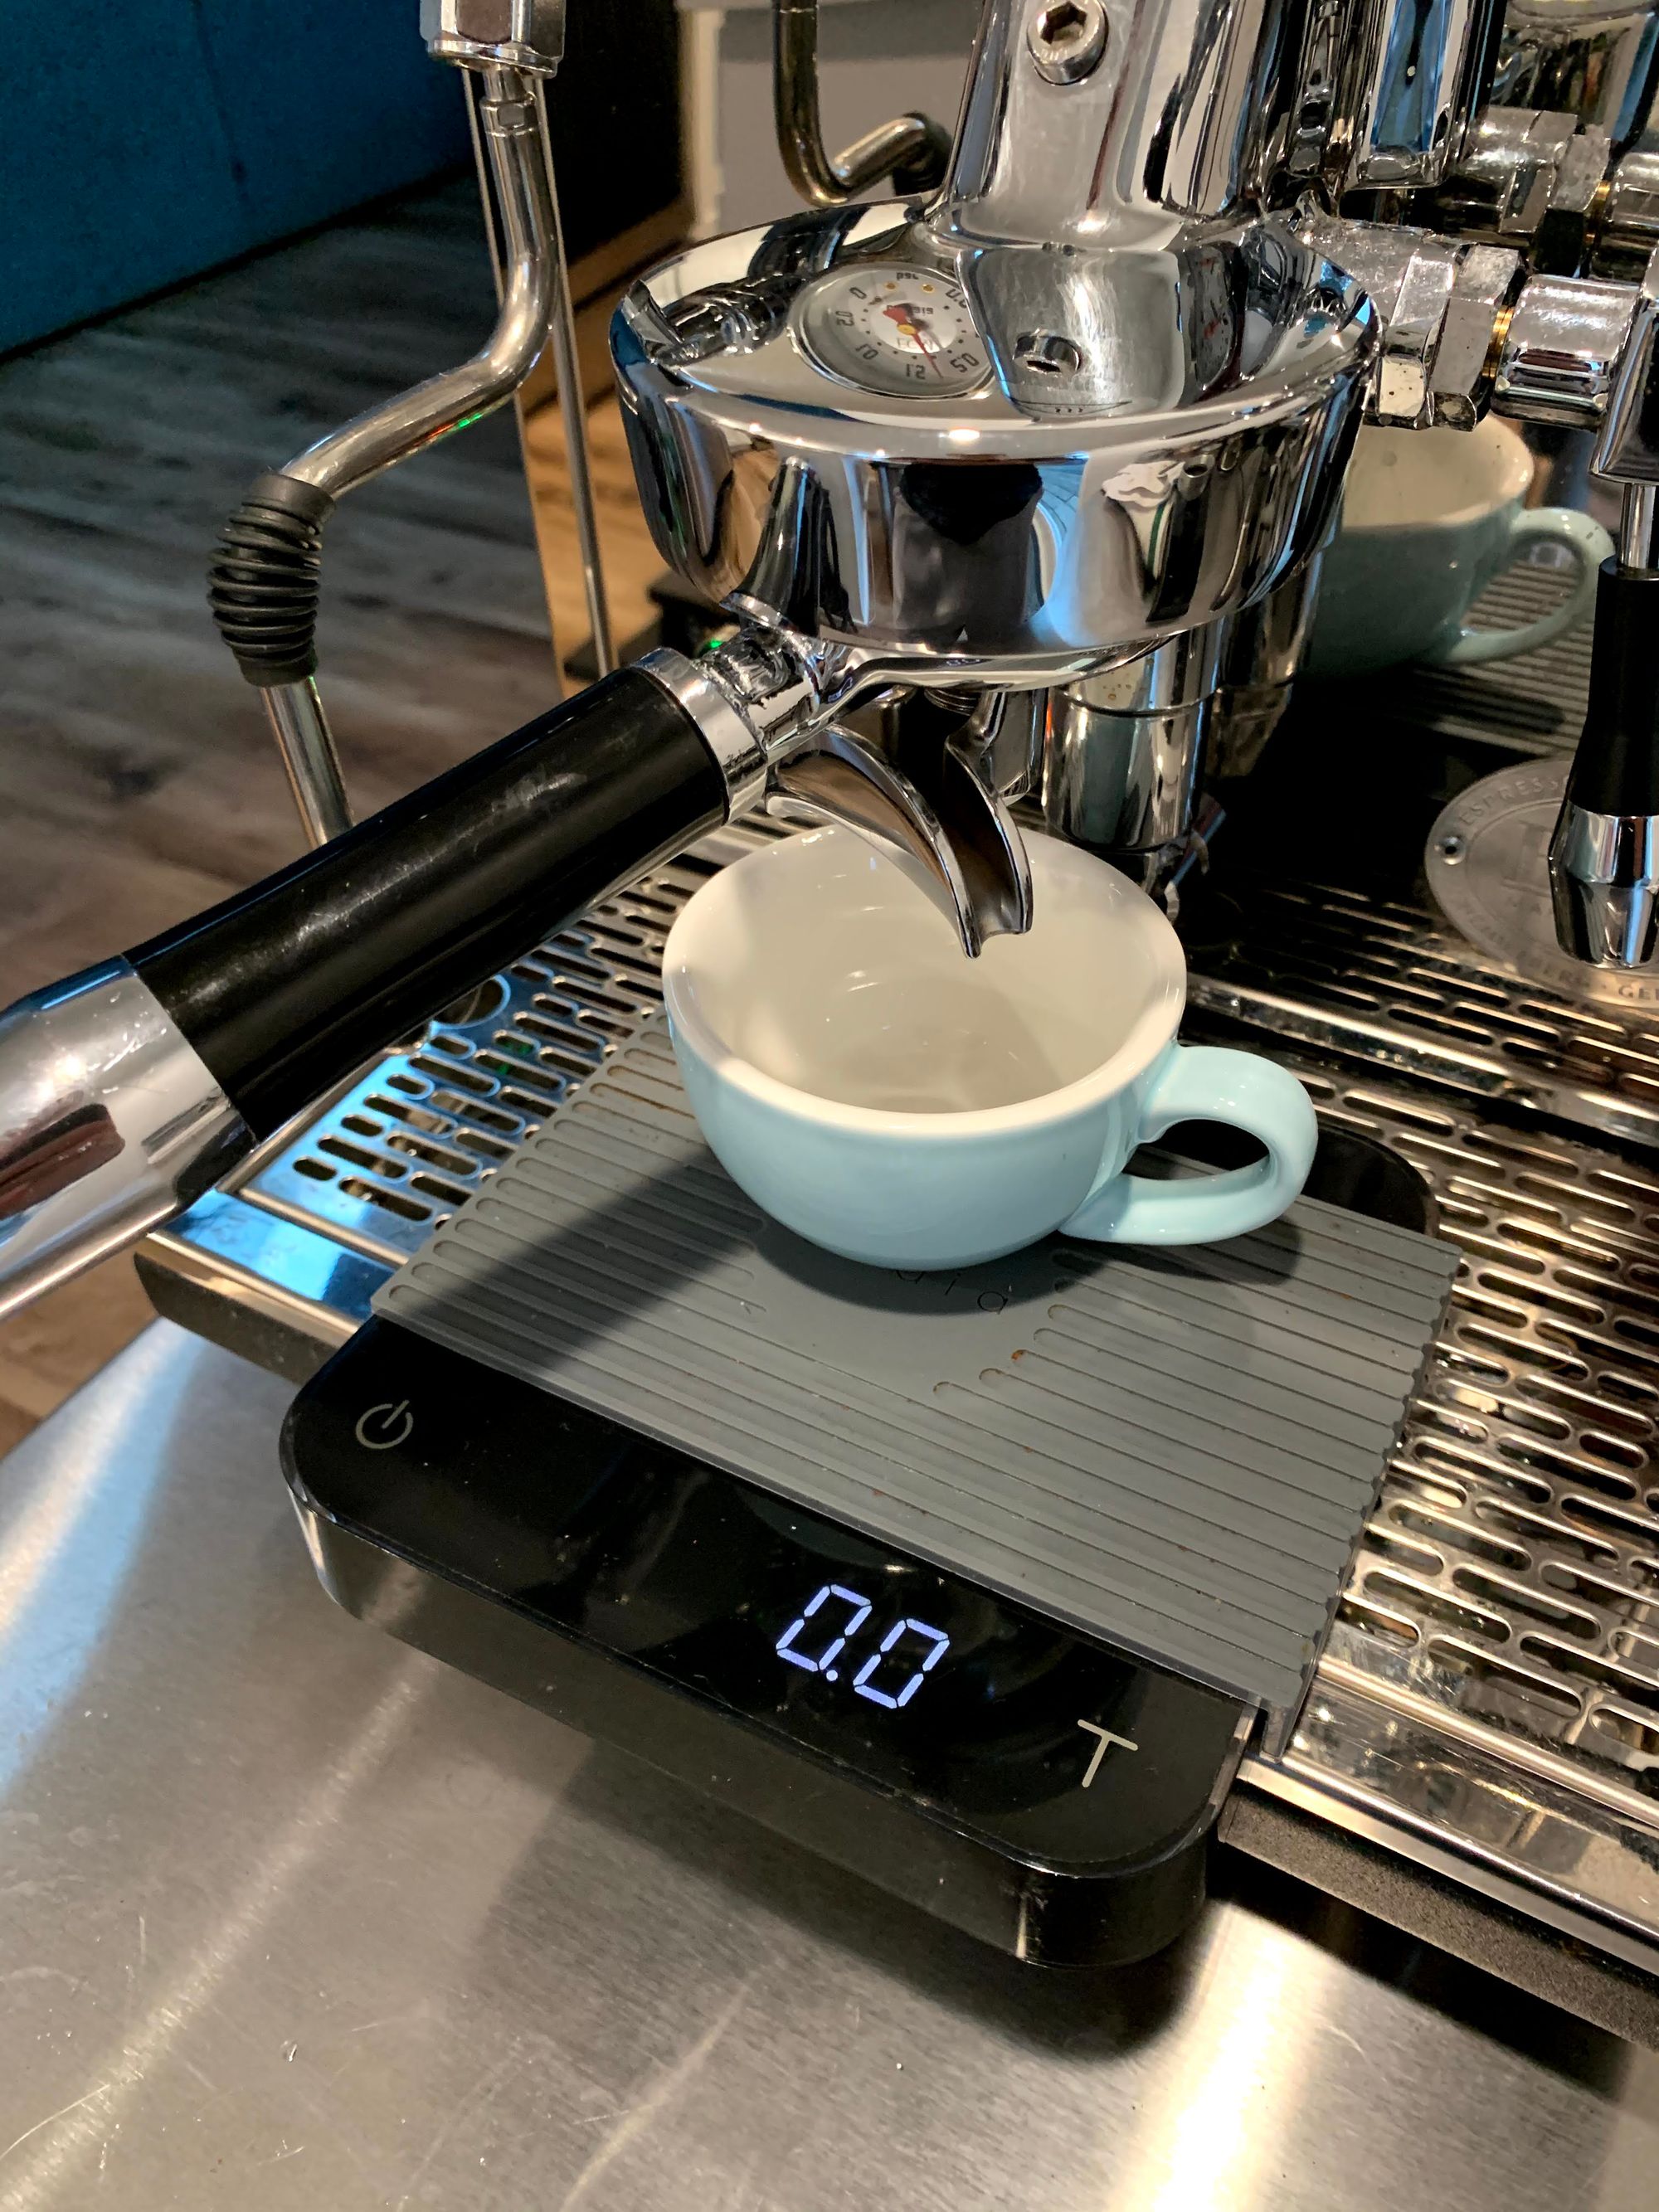
Start the extraction. Pull a 2:1 ratio of water to espresso, stopping when you have 36 grams of espresso (18 g * 2). This should take about 25 seconds. Shorter means that your grounds were too coarse; longer means too fine.
3. Steaming the milk
Learning how to steam milk takes practice. It requires more manual skill than pulling a shot. Here's one video that was helpful. I think of it as injecting air and while allowing the steam wand to roll the milk / evenly spread the air throughout the milk. The steamed milk should have an even paint-like consistency.
Instructions:
- Add 4 oz of milk to your milk pitcher.
- Purge the steam wand.
- Put the steam wand into the pitcher just beneath the surface and turn it on.
- Keep your left hand in contact with the pitcher to monitor its temperature.
- Allow some air to be injected, but not too much (by the time the milk feels warm, you shouldn't need any more air). Submerging the steam wand tip prevents air from being injected.
- Allow the steam wand to roll the milk. Don't move it around too much.
- When the pitcher is too hot to touch for more than 2 seconds, turn off the steam wand. To prevent extra air from being injected, don't remove the steam wand from the pitcher until it's fully off.
- Bang the milk pitcher against the table to remove large bubbles.
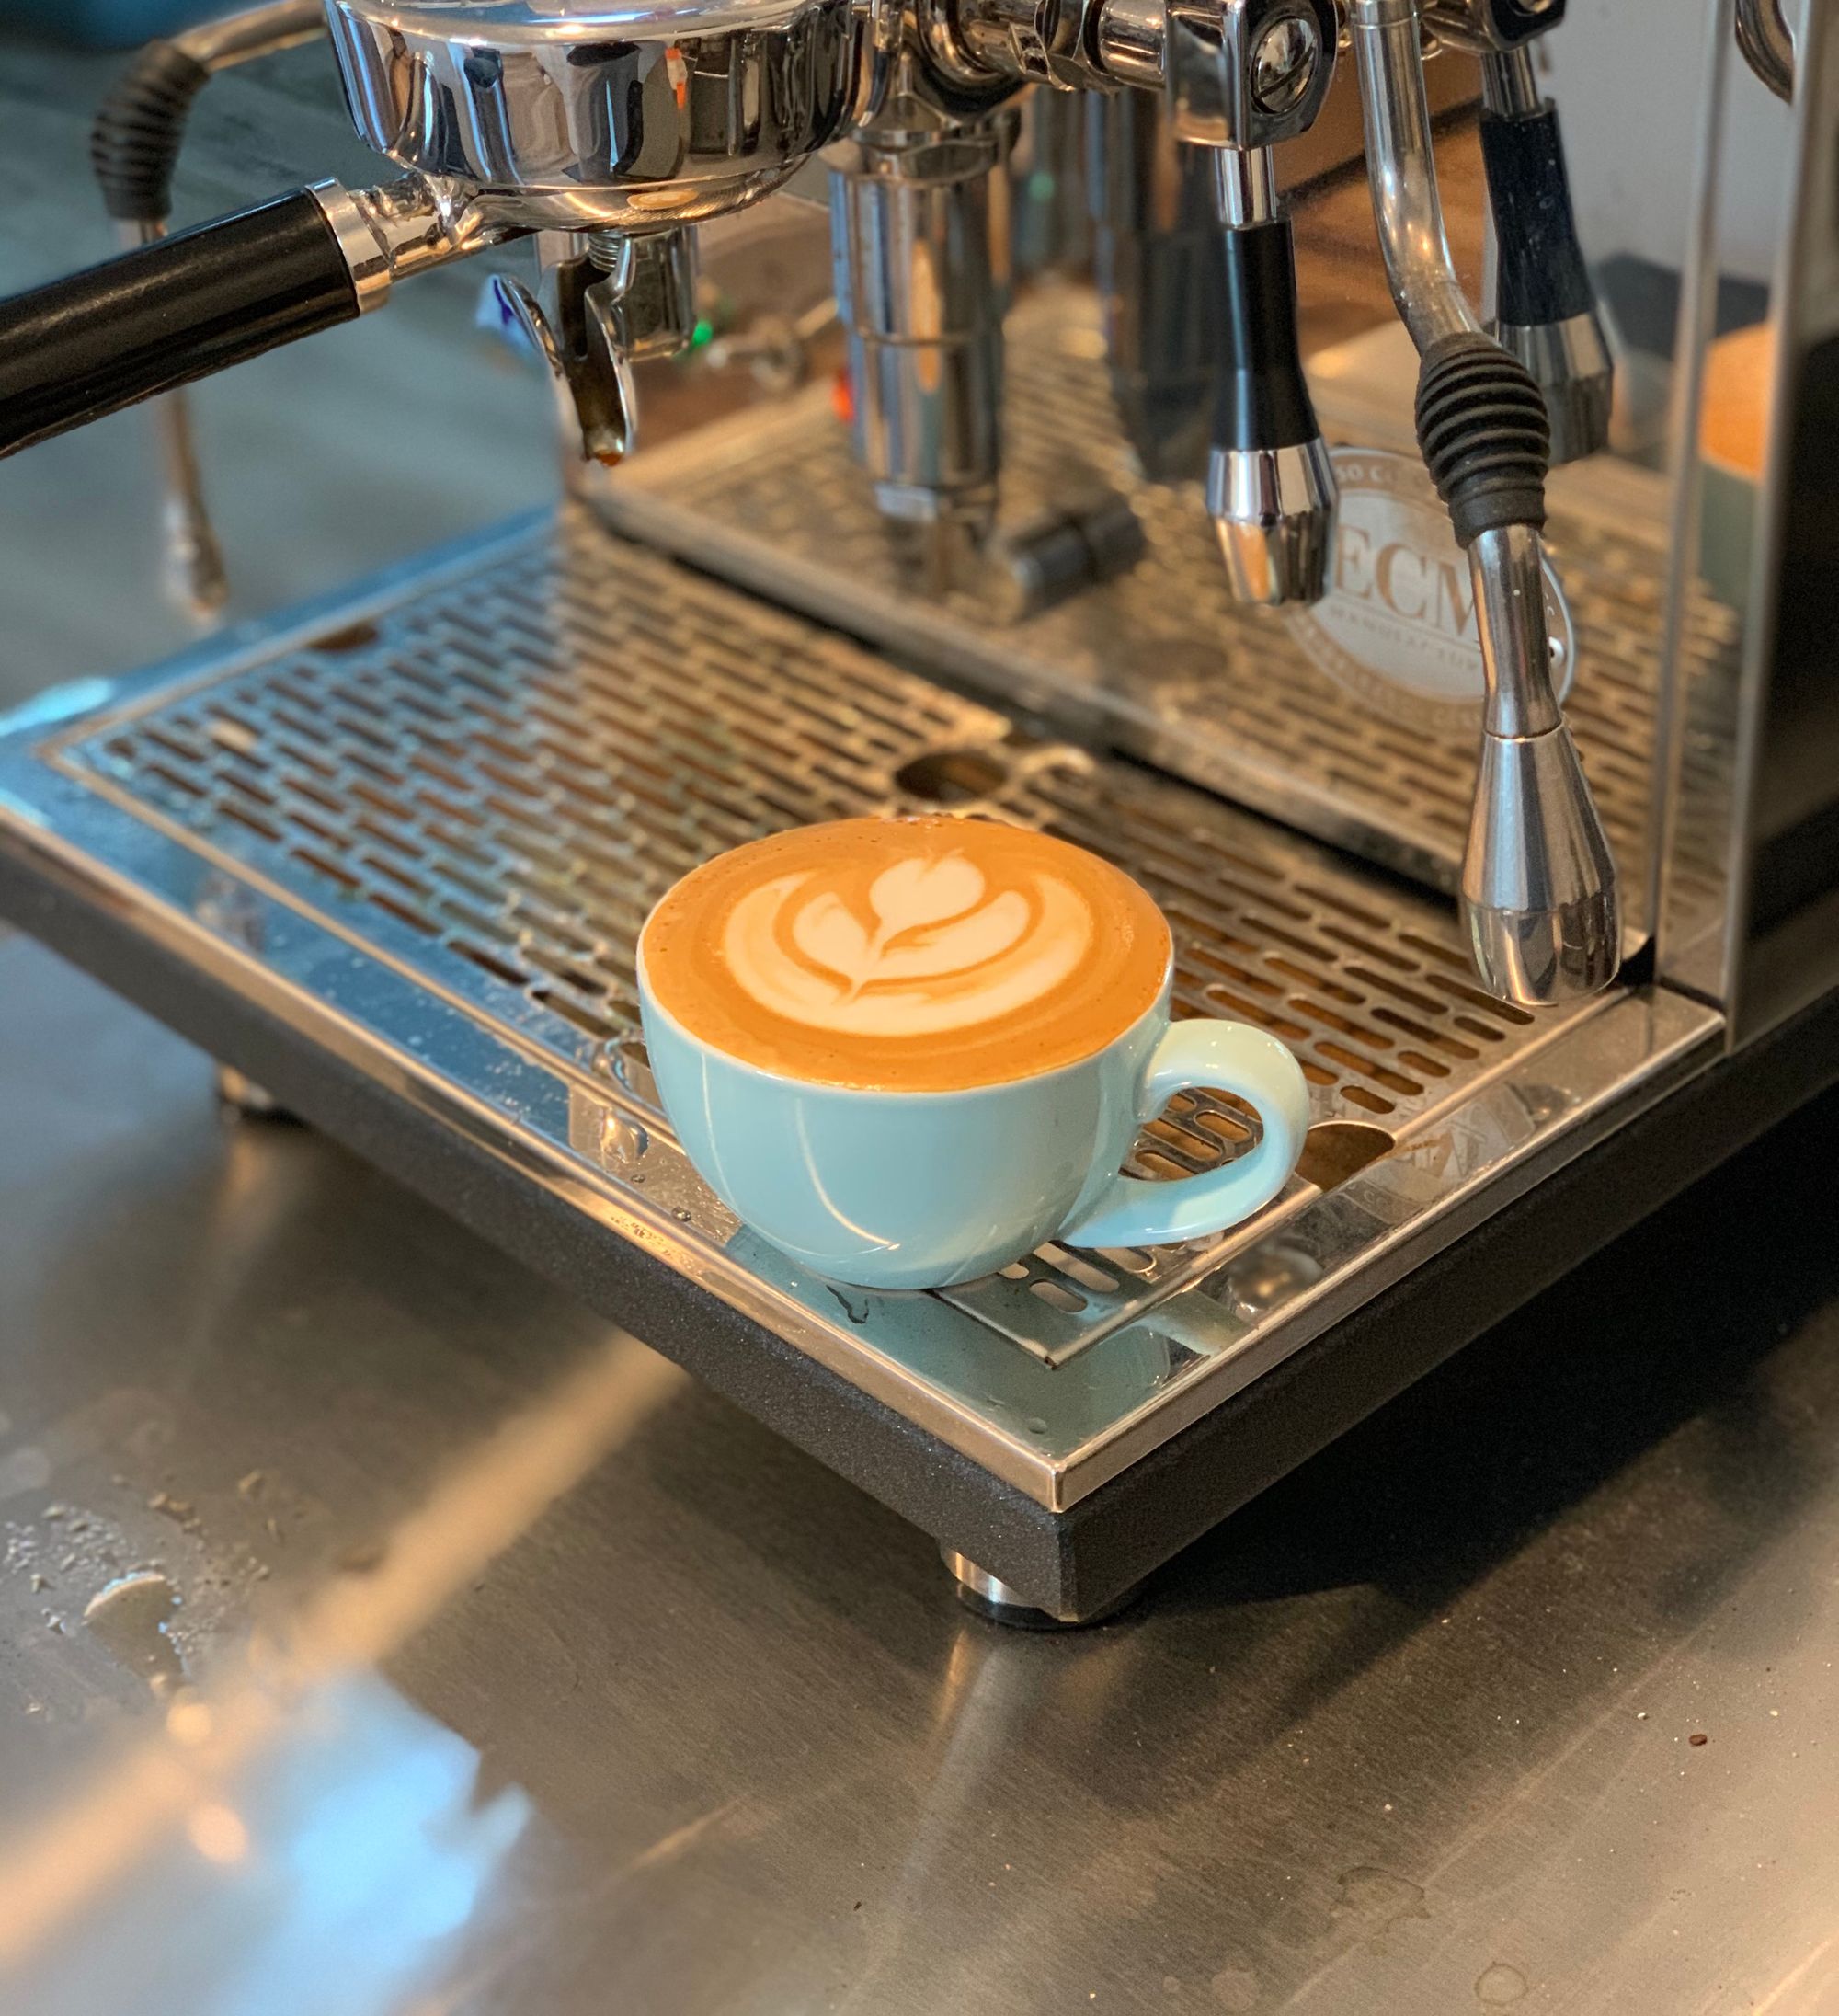
4. Pouring the milk / drawing latte art
This is the hardest part. It requires a lot of practice, and I'm still not consistently great at it. Here are two videos that were helpful in getting started.
Understanding the first principle of milk-espresso physics helps. The principle is that pouring from higher causes milk to go under the crema, while pouring from lower causes the milk to float on top of the crema.
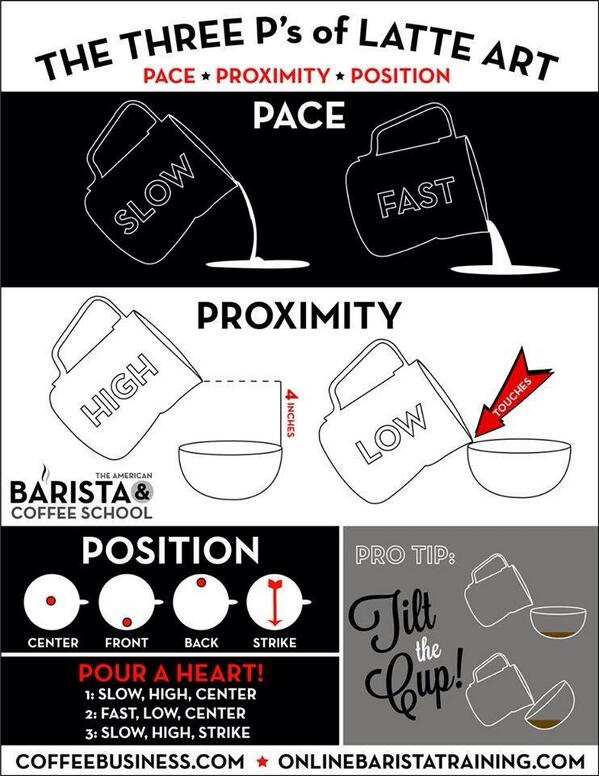
The easiest pattern is the heart. Here's how to do it:
- To create your "canvas", pour the steamed milk from a medium height in a circular motion. The milk will go under the layer of crema.
- When the cup is about 3/4 full, bring the pitcher closer to the cup and continue pouring. The milk should start to float on top.
- When the cup is almost full, raise the pitcher back up to a medium height and bring it across the cup to create the tip fo the heart.
5. Cleaning up
Make sure to wipe the steam wand with a wet cloth and then purge it. Throw out the puck and rinse everything. Run water through the group head and then wipe it.